1. What to do?
We want to prepare a server with a simple nginx-web-server for accessing its web pages with https.
3. Install passwordless ssh access
-
First, we create a ssh-key-pair for the server, so we can access it via ssh without entering a password.
apt install openssh-servercd ~/.ssh
mkdir vm761
cd vm761
ssh-keygen-
You can choose a name for the ssh-key-files. Here we use
ssh-key-vm761, so each vm has its own key-pair.
Generating public/private ed25519 key pair.
Enter file in which to save the key (/Users/stuetz/.ssh/id_ed25519): ssh-key-vm761
Enter passphrase for "ssh-key-vm761" (empty for no passphrase):
Enter same passphrase again:
Your identification has been saved in ssh-key-vm761
Your public key has been saved in ssh-key-vm761.pub
The key fingerprint is:
SHA256:J6mtqLycasUUh7Lj9ufNOrRQo1xabNc794vliiVZ0xE stuetz@Toms-MBP-2022.fritz.box
The key's randomart image is:
+--[ED25519 256]--+
|    .        E   |
| . o .        .  |
|  o +   .    .   |
| o . B . o  . .  |
|. = B o S oo .   |
| o B . o =o..    |
|. o o o .oo...   |
| + o =o.  + +.   |
|o.*o+o+o . o.o.  |
+----[SHA256]-----+
ssh-copy-id -i ssh-key-vm761 myuser@vm761.htl-leonding.ac.at/usr/bin/ssh-copy-id: INFO: Source of key(s) to be installed: "ssh-key-vm761.pub" /usr/bin/ssh-copy-id: INFO: attempting to log in with the new key(s), to filter out any that are already installed /usr/bin/ssh-copy-id: INFO: 1 key(s) remain to be installed -- if you are prompted now it is to install the new keys myuser@vm761.htl-leonding.ac.at's password: Permission denied, please try again. myuser@vm761.htl-leonding.ac.at's password: Number of key(s) added: 1 Now try logging into the machine, with: "ssh -i ./ssh-key-vm761 'myuser@vm761.htl-leonding.ac.at'" and check to make sure that only the key(s) you wanted were added.
ssh -i ./ssh-key-vm761 'myuser@vm761.htl-leonding.ac.at'Welcome to Ubuntu 24.04.2 LTS (GNU/Linux 6.8.0-60-generic x86_64) * Documentation: https://help.ubuntu.com * Management: https://landscape.canonical.com * Support: https://ubuntu.com/pro System information as of Sat Jun 7 17:28:21 UTC 2025 System load: 0.31 Processes: 204 Usage of /: 34.2% of 78.19GB Users logged in: 1 Memory usage: 4% IPv4 address for ens160: 10.191.112.141 Swap usage: 0% * Strictly confined Kubernetes makes edge and IoT secure. Learn how MicroK8s just raised the bar for easy, resilient and secure K8s cluster deployment. https://ubuntu.com/engage/secure-kubernetes-at-the-edge Expanded Security Maintenance for Applications is not enabled. 0 updates can be applied immediately. Enable ESM Apps to receive additional future security updates. See https://ubuntu.com/esm or run: sudo pro status
-
First, we check if the public key is copied to the server.
cat /home/myuser/.ssh/authorized_keys
ssh-ed25519 AAAAC3Ndfgdfgh4d5f4h5dfs4ghdfg5540aXdxsnIyWORgLgq0x+LTqSkzOdLPOADp9H stuetz@Toms-MBP-2022.fritz.box
-
Add an entry to the
~/.ssh/configfile, so we can access the server with a simple command.
nano ~/.ssh/config-
Add the following lines to the
~/.ssh/configfile: .vm:~/.ssh/config
Host vm761
    HostName vm761.htl-leonding.ac.at
    User myuser
    IdentityFile ~/.ssh/ssh-key-vm761
| Check, if the login works. When you disable in the next step the password authentication, you will not be able to login anymore if the public key is not copied correctly. |
ssh vm761-
When successful, you should see a welcome message of the server.
-
Now logout with
exitorlogout. -
Now we disable the password authentication for ssh, so only the public key authentication is allowed.
sudo nano /etc/ssh/sshd_config-
Change the following lines: .vm:
/etc/ssh/sshd_config
PasswordAuthentication no
4. Install nginx
-
Update the package list and update the installed packages on the server.
sudo apt update && sudo apt dist-upgrade -y-
Install nginx
sudo apt install nginxNotes
-
the configuration files are located in
/etc/nginx/sites-available/and/etc/nginx/sites-enabled/ -
Possibly, important commands
systemctl status nginx
systemctl enable nginx
systemctl restart nginx
netstat -ant

# Alle aktiven Konfigurationen auflisten
sudo ls -la /etc/nginx/sites-enabled/

# Inhalt der Konfigurationen prüfen
sudo grep -r "vmXY.htl-leonding.ac.at" /etc/nginx/sites-enabled/

# Neue Konfiguration aktivieren
sudo ln -s /etc/nginx/sites-available/pepper-app /etc/nginx/sites-enabled/

# Testen
sudo nginx -t

# Endpoint aufrufen
curl -kv https://vmXY.htl-leonding.ac.at:8080/person

# Logs verfolgen
sudo tail -f /var/log/nginx/api_access.log
sudo tail -f /var/log/nginx/api_error.log

# Alle aktiven Ports prüfen
sudo netstat -tlnp | grep -E ':(80|443|4200|8080)'

# Welche Ports sind belegt?
sudo netstat -tlnp | grep :80
sudo netstat -tlnp | grep :443
sudo netstat -tlnp | grep :8080
5. Install Let’s Encrypt SSL Certificates
-
We are using certificates from Let’s Encrypt to secure our nginx server with SSL.
-
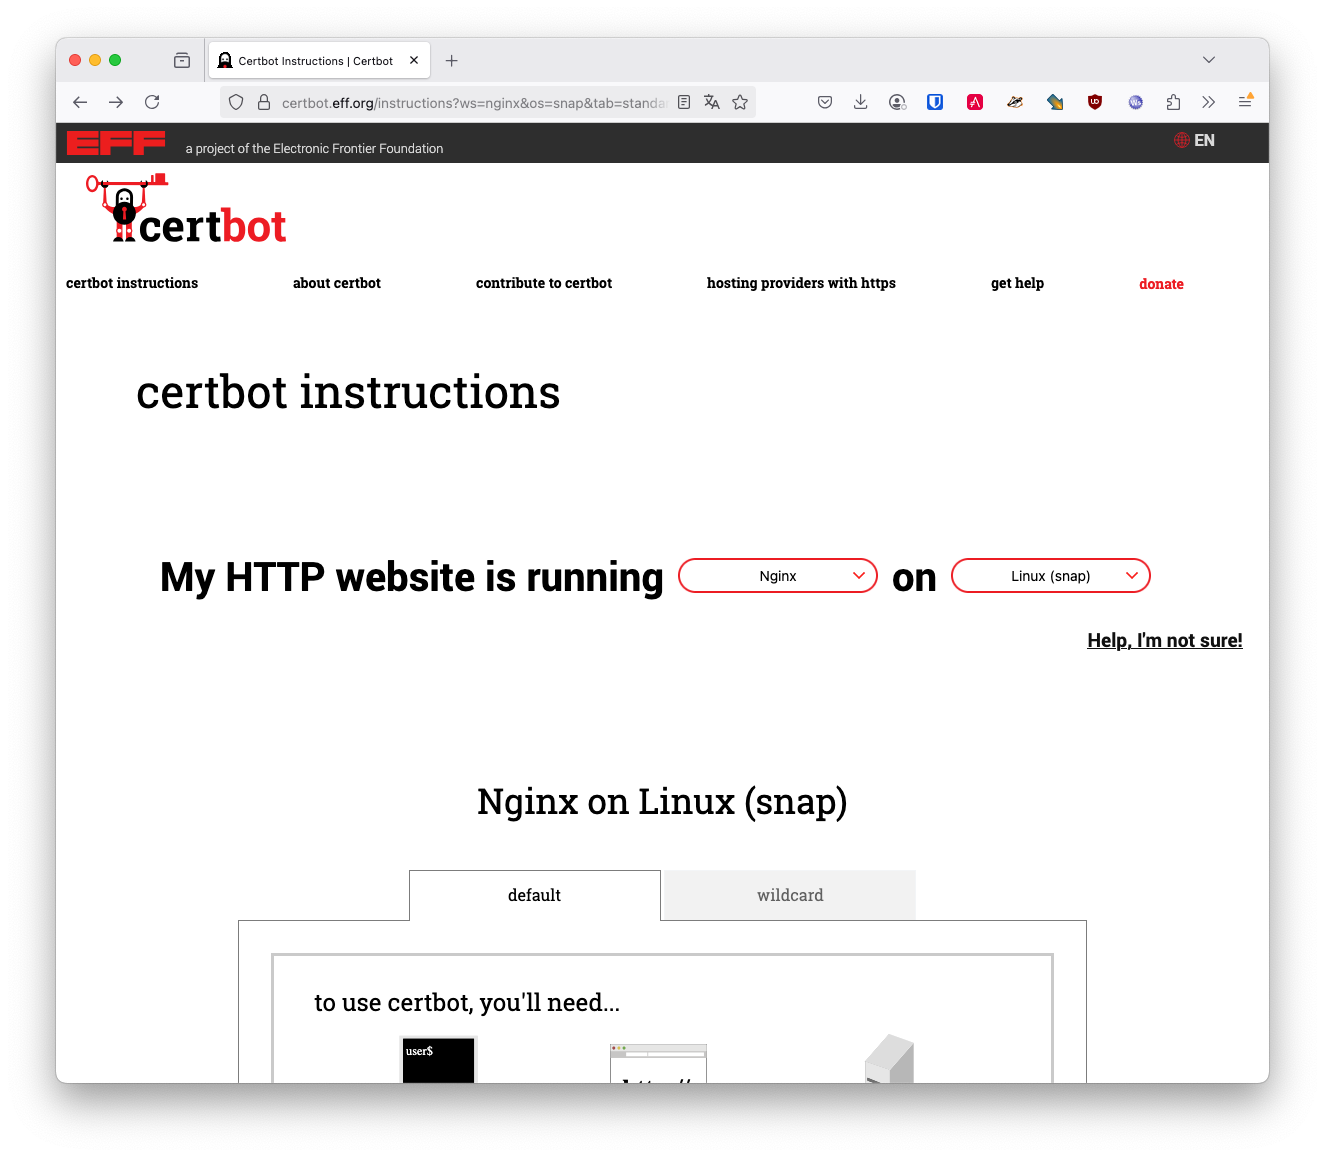
Install the certbot package for managing SSL certificates.
-
you can choose your web-server and os
-
Unfortunately, we have to use the snap package manager to install certbot, so we can use the latest version of certbot.
sudo snap install --classic certbot
sudo ln -s /snap/bin/certbot /usr/bin/certbot
sudo certbot --nginx-
Now test the renewal of the certificate.
sudo certbot renew --dry-runSaving debug log to /var/log/letsencrypt/letsencrypt.log Enter email address or hit Enter to skip. (Enter 'c' to cancel): <my-email-address> (1) - - - - - - - - - - - - - - - - - - - - - - - - - - - - - - - - - - - - - - - - Please read the Terms of Service at: https://letsencrypt.org/documents/LE-SA-v1.5-February-24-2025.pdf You must agree in order to register with the ACME server. Do you agree? - - - - - - - - - - - - - - - - - - - - - - - - - - - - - - - - - - - - - - - - (Y)es/(N)o: y (2) - - - - - - - - - - - - - - - - - - - - - - - - - - - - - - - - - - - - - - - - Would you be willing, once your first certificate is successfully issued, to share your email address with the Electronic Frontier Foundation, a founding partner of the Let's Encrypt project and the non-profit organization that develops Certbot? We'd like to send you email about our work encrypting the web, EFF news, campaigns, and ways to support digital freedom. - - - - - - - - - - - - - - - - - - - - - - - - - - - - - - - - - - - - - - - - (Y)es/(N)o: n (3) Account registered. Please enter the domain name(s) you would like on your certificate (comma and/or space separated) (Enter 'c' to cancel): vm761.htl-leonding.ac.at Requesting a certificate for vm761.htl-leonding.ac.at Successfully received certificate. Certificate is saved at: /etc/letsencrypt/live/vm761.htl-leonding.ac.at/fullchain.pem Key is saved at: /etc/letsencrypt/live/vm761.htl-leonding.ac.at/privkey.pem This certificate expires on 2025-09-06. These files will be updated when the certificate renews. Certbot has set up a scheduled task to automatically renew this certificate in the background. Deploying certificate Successfully deployed certificate for vm761.htl-leonding.ac.at to /etc/nginx/sites-enabled/default Congratulations! You have successfully enabled HTTPS on https://vm761.htl-leonding.ac.at (4) - - - - - - - - - - - - - - - - - - - - - - - - - - - - - - - - - - - - - - - - If you like Certbot, please consider supporting our work by: * Donating to ISRG / Let's Encrypt: https://letsencrypt.org/donate * Donating to EFF: https://eff.org/donate-le - - - - - - - - - - - - - - - - - - - - - - - - - - - - - - - - - - - - - - - -
| 1 | use your email address |
| 2 | n |
| 3 | n |
| 4 | your domain name
|
sudo certbot renew --dry-runSaving debug log to /var/log/letsencrypt/letsencrypt.log - - - - - - - - - - - - - - - - - - - - - - - - - - - - - - - - - - - - - - - - Processing /etc/letsencrypt/renewal/vm761.htl-leonding.ac.at.conf - - - - - - - - - - - - - - - - - - - - - - - - - - - - - - - - - - - - - - - - Account registered. Simulating renewal of an existing certificate for vm761.htl-leonding.ac.at - - - - - - - - - - - - - - - - - - - - - - - - - - - - - - - - - - - - - - - - Congratulations, all simulated renewals succeeded: /etc/letsencrypt/live/vm761.htl-leonding.ac.at/fullchain.pem (success) - - - - - - - - - - - - - - - - - - - - - - - - - - - - - - - - - - - - - - - -
-
You find the cronjob for the automatic renewal of the certificates in the
/etc/cron.d/certbotfile.
systemctl list-timersor
sudo cat /etc/crontab
# /etc/crontab: system-wide crontab
# Unlike any other crontab you don't have to run the `crontab'
# command to install the new version when you edit this file
# and files in /etc/cron.d. These files also have username fields,
# that none of the other crontabs do.

SHELL=/bin/sh
# You can also override PATH, but by default, newer versions inherit it from the environment
#PATH=/usr/local/sbin:/usr/local/bin:/usr/sbin:/usr/bin:/sbin:/bin

# Example of job definition:
# .---------------- minute (0 - 59)
# |  .------------- hour (0 - 23)
# |  |  .---------- day of month (1 - 31)
# |  |  |  .------- month (1 - 12) OR jan,feb,mar,apr ...
# |  |  |  |  .---- day of week (0 - 6) (Sunday=0 or 7) OR sun,mon,tue,wed,thu,fri,sat
# |  |  |  |  |
# *  *  *  *  * user-name command to be executed
17 *	* * *	root	cd / && run-parts --report /etc/cron.hourly
25 6	* * *	root	test -x /usr/sbin/anacron || { cd / && run-parts --report /etc/cron.daily; }
47 6	* * 7	root	test -x /usr/sbin/anacron || { cd / && run-parts --report /etc/cron.weekly; }
52 6	1 * *	root	test -x /usr/sbin/anacron || { cd / && run-parts --report /etc/cron.monthly; }
#
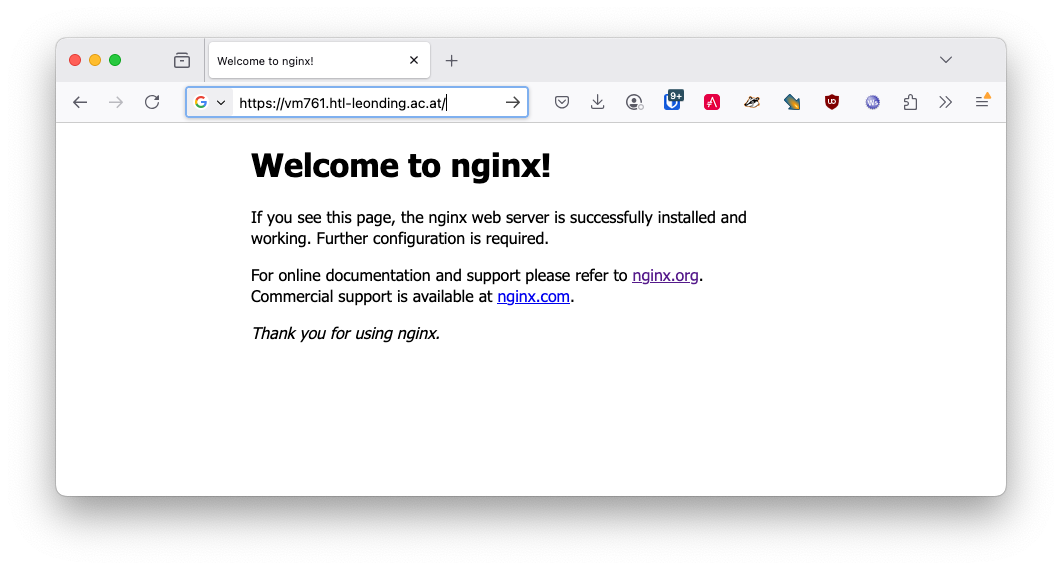
-
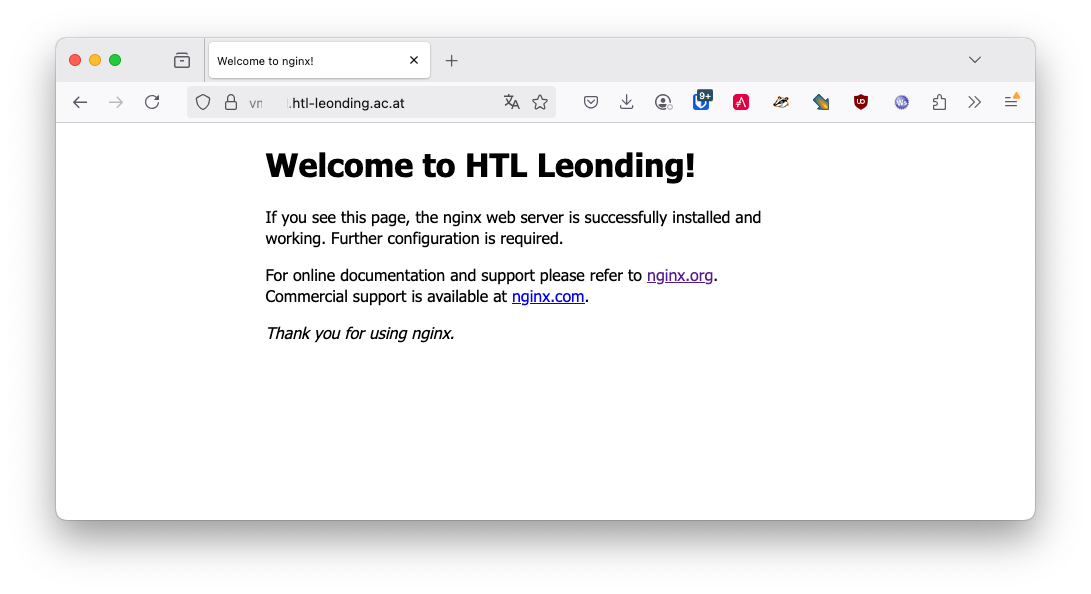
Now we check if the nginx server is running and serving the default page.
6. Make your first website
-
The default nginx page is located in the
/var/www/html/index.nginx-debian.htmlfile.
/var/www/html directory to your user, so you can edit the files without using sudo.sudo chown -R my-user:my-user /var/www/html-
Now we can edit the default page and change it to our first website. .vm
nano /var/www/html/index.nginx-debian.html
7. Build the gh-pages pipeline
-
Now create a very simple Angular project in a github-repository.
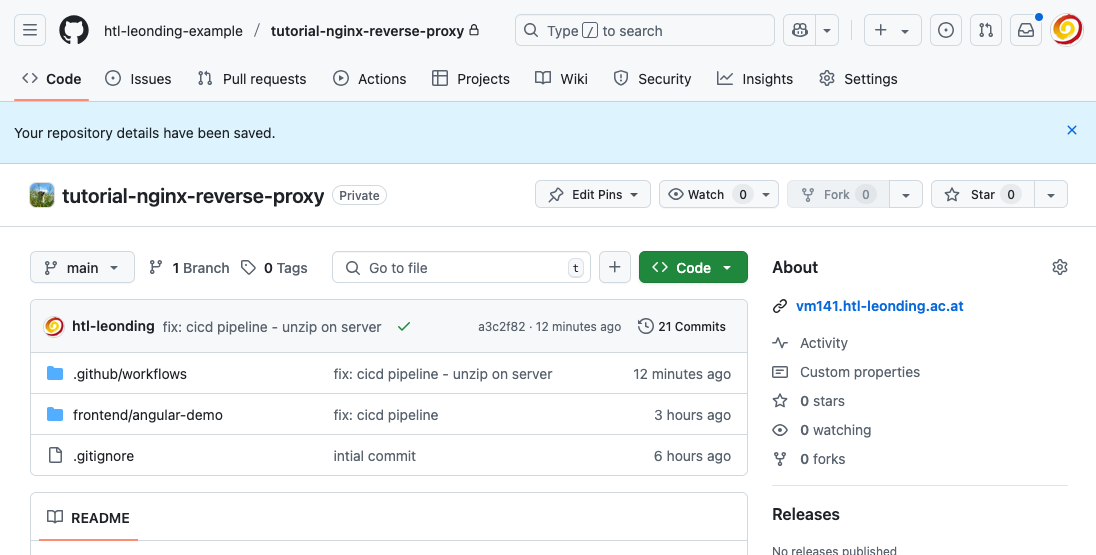
-
Clone the repo.
-
Create a new Angular project with the name
angular-demo.mkdir frontend cd frontend ng new angular-demo cd angular-demo
-
Edit
app.html
-
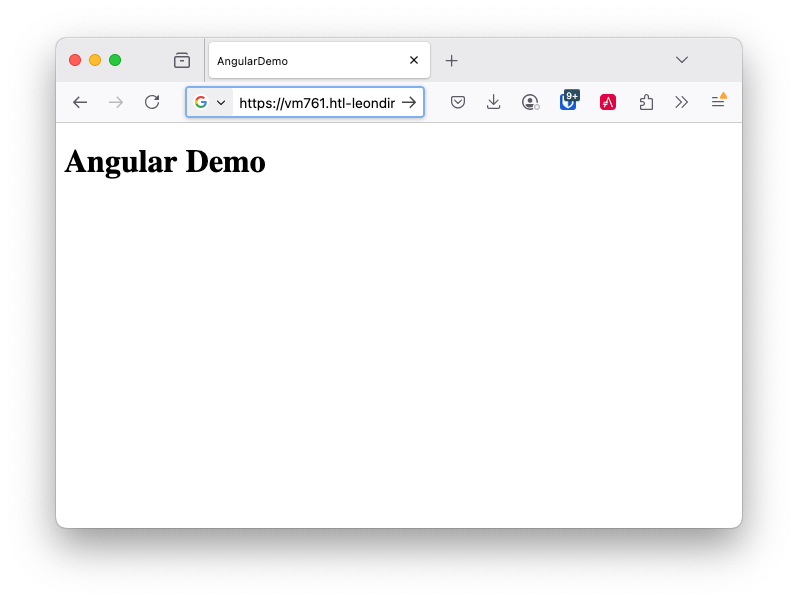
<h1>Angular Demo</h1>

<router-outlet />-
Create the gh-actions workflow file for deploying the frontend.
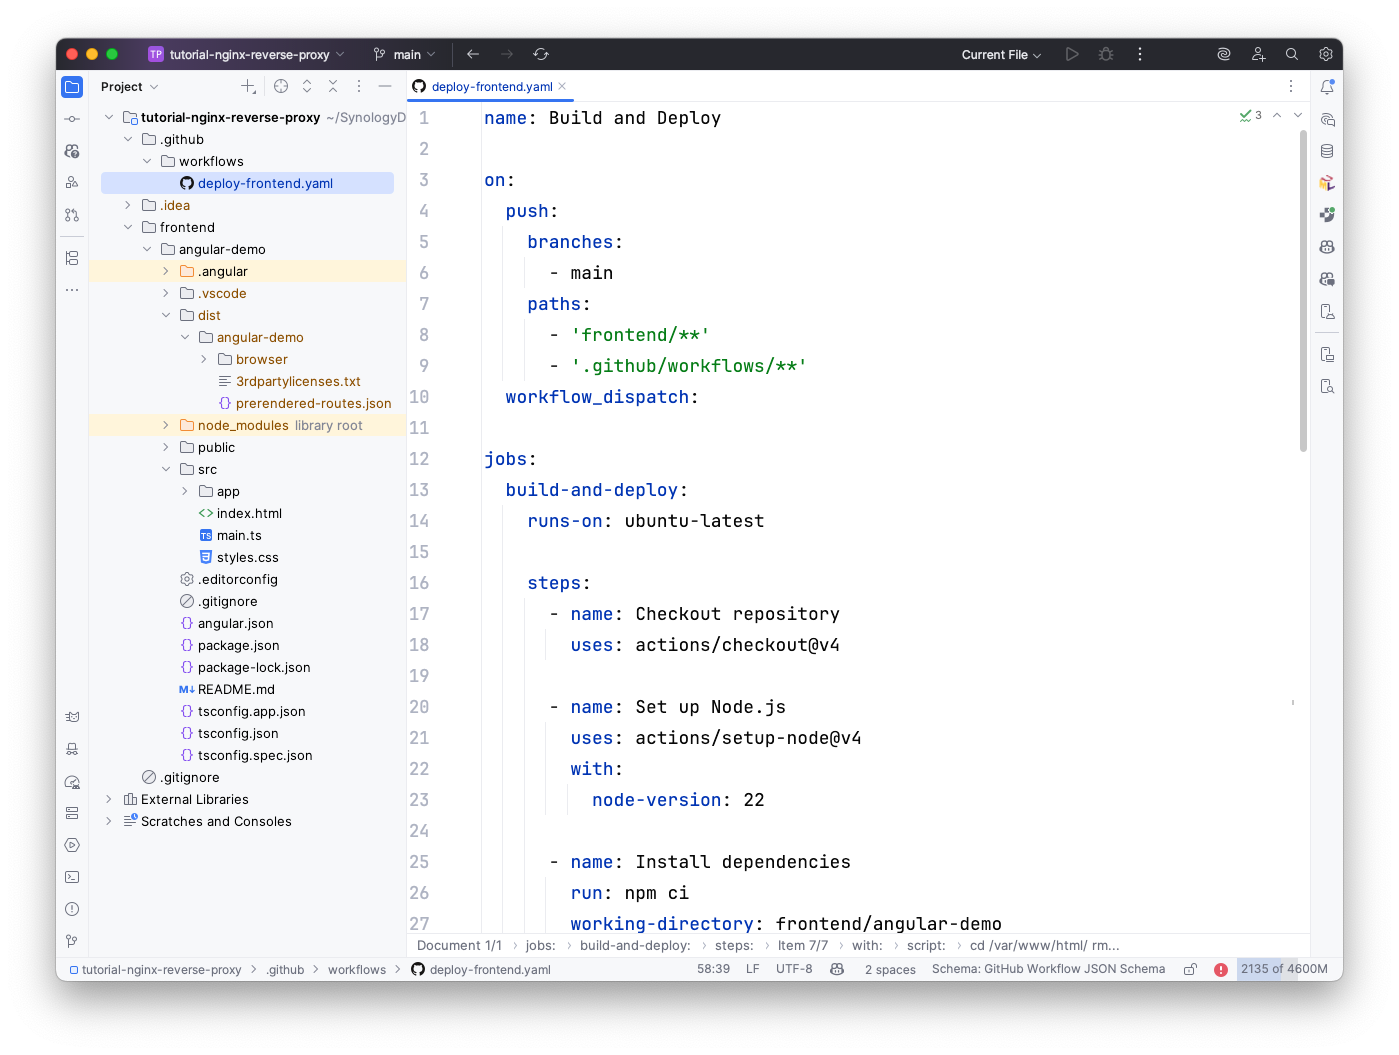
name: Build and Deploy

on:
  push:
    branches:
      - main
    paths:
      - 'frontend/**'
      - '.github/workflows/**'
  workflow_dispatch:

jobs:
  build-and-deploy:
    runs-on: ubuntu-latest

    steps:
      - name: Checkout repository
        uses: actions/checkout@v4

      - name: Set up Node.js
        uses: actions/setup-node@v4
        with:
          node-version: 22

      - name: Install dependencies
        run: npm ci
        working-directory: frontend/angular-demo


      - name: Build Angular project
        run: npm run build -- --configuration=production
        working-directory: frontend/angular-demo

      - name: Zip build directory
        run: |
          tar -zcvf ../../../../../dist.tar.gz ./
        working-directory: frontend/angular-demo/dist/angular-demo/browser

      - name: Copy zip to server via SCP
        uses: appleboy/scp-action@v1
        with:
          host: ${{ secrets.SSH_HOST }}
          username: ${{ secrets.SSH_USER }}
          key: ${{ secrets.SSH_PRIVATE_KEY }}
          source: dist.tar.gz
          target: /tmp/
          strip_components: 0

      - name: Unzip on server
        uses: appleboy/ssh-action@v1
        with:
          host: ${{ secrets.SSH_HOST }}
          username: ${{ secrets.SSH_USER }}
          key: ${{ secrets.SSH_PRIVATE_KEY }}
          script: |
            cd /var/www/html/
            rm -rf *
            tar -xzf /tmp/dist.tar.gz
            tar -tf /tmp/dist.tar.gz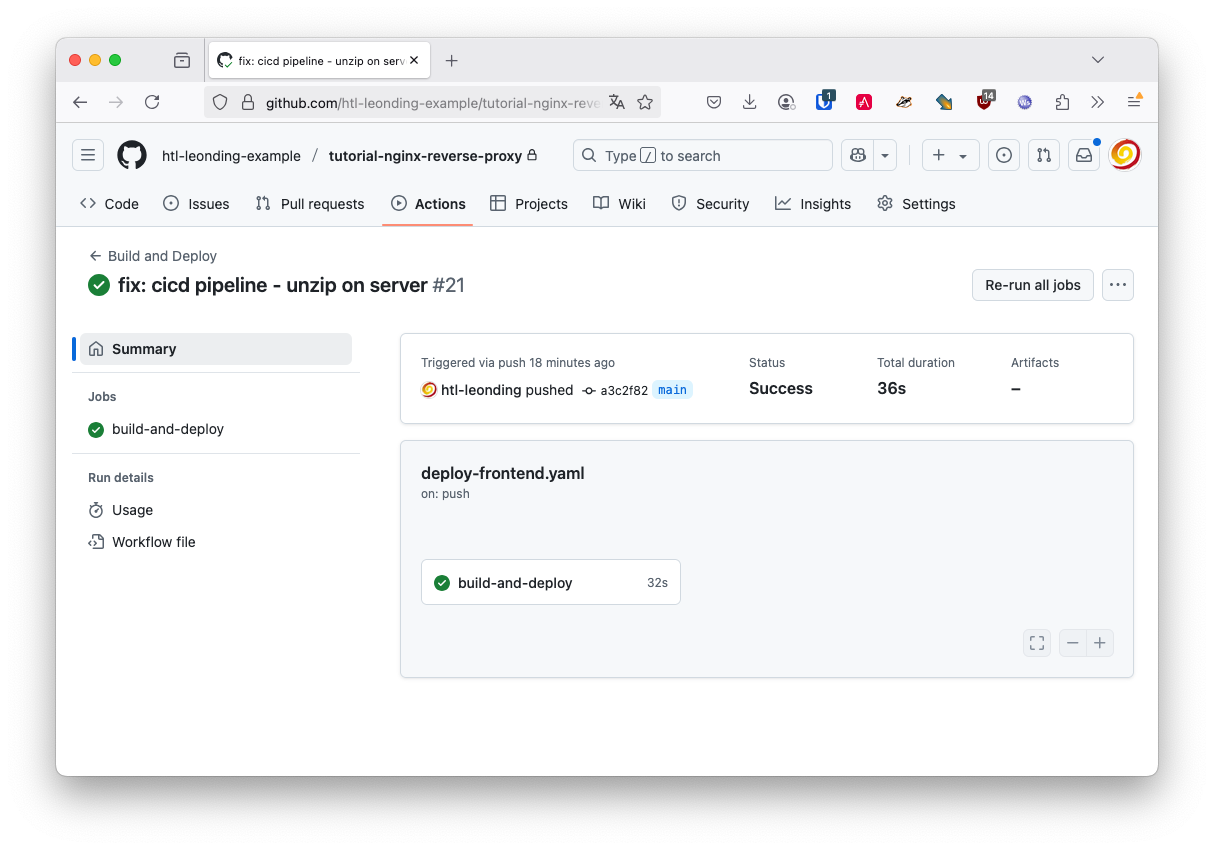
rm /tmp/dist.tar.gz-
When there are no errors anymore, the frontend is built and deployed to the server.
total 208
drwxr-xr-x 2 dsadmin dsadmin   4096 Jun  8 16:17 ./
drwxr-xr-x 3 root    root      4096 Jun 15  2021 ../
-rw-r--r-- 1 dsadmin dsadmin  15086 Jun  8 16:16 favicon.ico
-rw-r--r-- 1 dsadmin dsadmin    425 Jun  8 16:17 index.html
-rw-r--r-- 1 dsadmin dsadmin 183884 Jun  8 16:17 main-DST6WINY.js
-rw-r--r-- 1 dsadmin dsadmin 0 Jun 8 16:17 styles-5INURTSO.css-
Now the deployment of the frontend is done via GitHub Actions and we can check the server. We see, that the website is served via https and the certificate is valid.